This is a review from the end of 2012. I am posting it here as I'm about to post a follow up review on a new version of the Zipslip.
------
When Michael Vagnino's Zipslip turned up on a passaround, the natural comparison for me was my Spyderco G10 UKPK. Both are slipjoints, use the forefinger in a choil for added security and have orange scales!

The big thing for a knife for me is the handle. If it's comfy to use, I can compensate for a bad blade but if it has a perfect blade but a poor handle, I can't. I haven't focussed on cutting in this comparison for that very reason - they're both sharp and can cut things. I'm more concerned with the ergonomics and mechanics.
The UKPK sets the bar very high to my mind. I find the ergonomics pretty much spot on for me so it's a great benchmark to compare against. I'm currently carrying it everyday as well.
I had a very positive reaction to the Zipslip initially. It's not surprising that it's construction is superb. It feels solid and it opens with authority with no wobble in the blade. It's a knife that made me smile when I got it in hand.
From pictures, I found the design of the pocket clip a little jarring - I could see how the clip extending past the handle would aid in seating it even deeper than the UKPK in a pocket, but visually I'm not keen and I also wondered if it would stick in the hand.

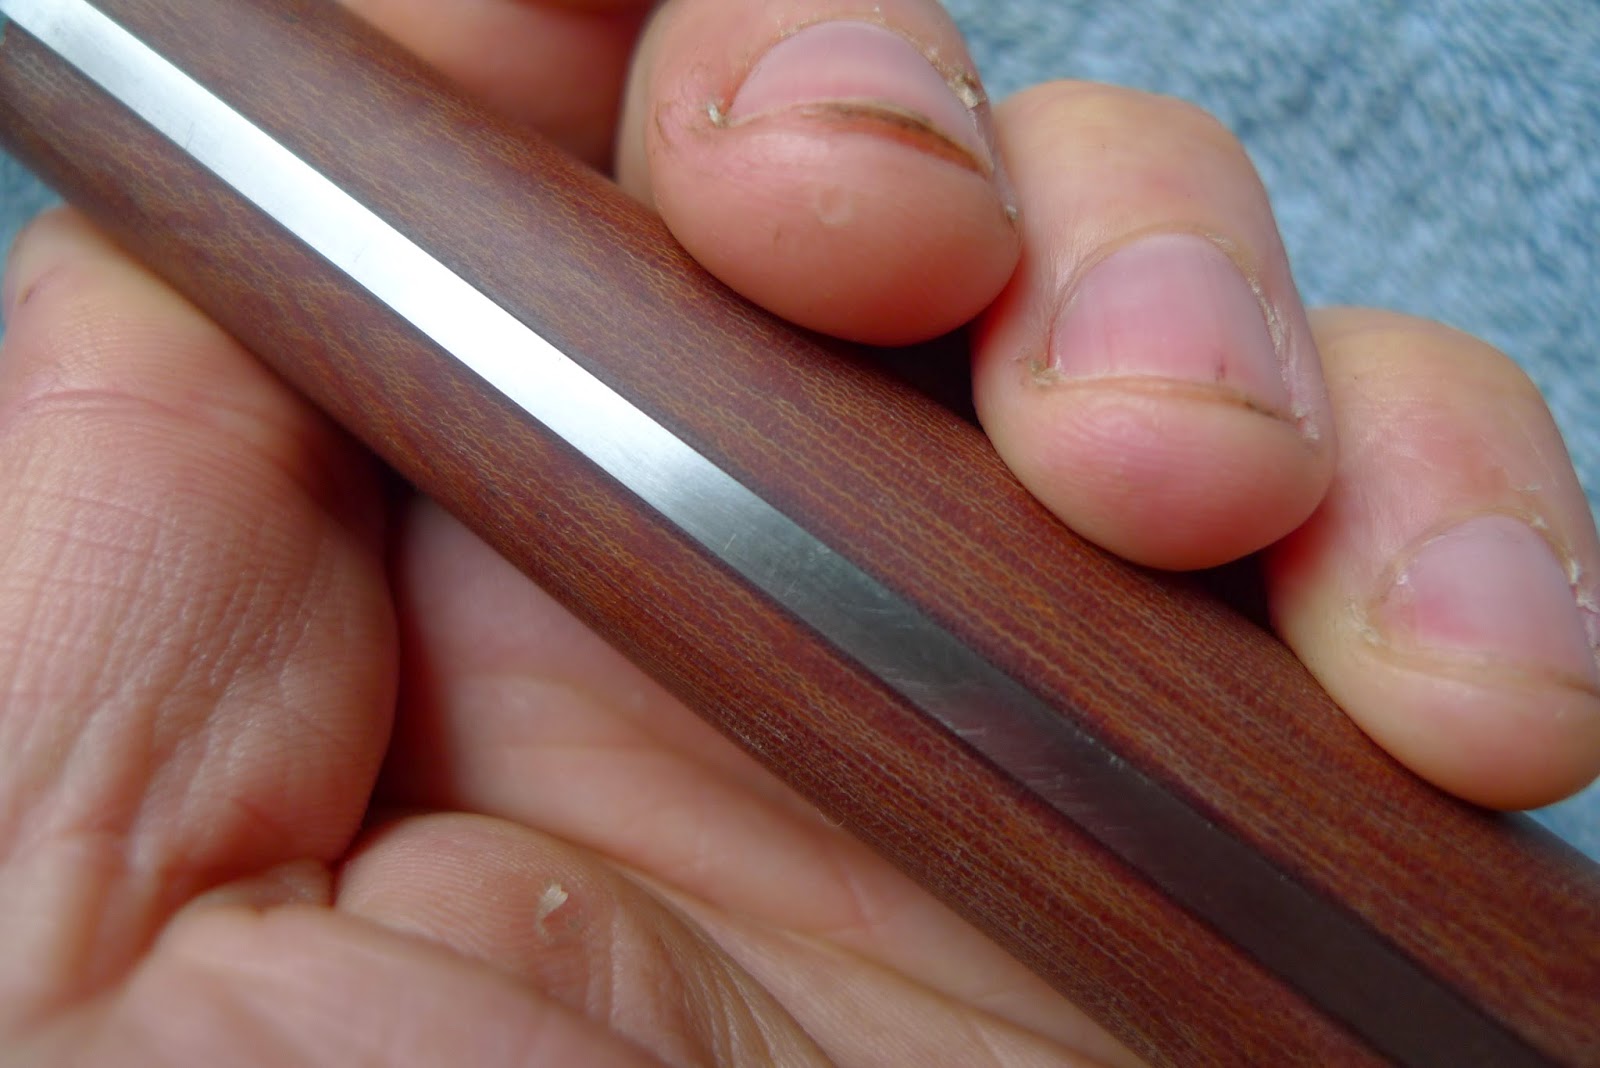
It proved not to be a problem when gripping. If you look at the picture above, the Zipslip clip angles in quickly whereas the UKPK clip runs parallel to the knife so actually is more noticeable in the hand.
For my hand size, the end of the clip doesn't get in the way.

The Zipslip has gently rounded scales, whereas the UKPK has flat scales with the corners chamfered.
Zipslip:

UKPK:

The rounded makes the Zipslip feel much more comfortable than the UKPK. I asked my wife to do some comparisons and this is something she said straight away and I have to agree. I've never noticed a problem with the UKPK before but having this to compare made me realise it would be nice to have that change in shape.
Unfortunately, a big negative point for me is the choil size. The curve of the Zipslip choil is a noticeably tighter radius than the UKPK.

I don't have large hands but I found that the choil pinched my finger.

The UKPK doesn't.

If I owned this knife, I wouldn't be able to use it in this state. It was just too uncomfortable. I do believe, however, that it could be reshaped without detriment to the rest of the knife. The front of the choil that's part of the blade could stay the same but the rear section in the handle could be flattened out. It would just move the 'point' of the rear part of the choil further toward the butt of the handle and closer to the spine of the handle.
A cheeky little photoshop:
Zipslip original

UKPK original

Rear of the UKPK choil stuck on the Zipslip -

Note, the last picture is not real.
Also on comfort, the handle grooves.
I like them but I think the corners need taking off. the channels have a harsh 90 degree corner that I think would cause rubbing in use. an extra cutting operation when milling them in using an angled cutter to chamfer the top would remove the problem.

My last area of note is the spring.
It's actually my biggest issue with the knife as it's not something I could change or tweak. Opening is fantastic. The 'snap' is very solid.
It's the closing that I'm not happy with.
i have done a little video to highlight what I mean. It's not very exciting but hopefully it shows my point.
The tang has evidently been designed to allow an easy start to the open but on the flip side, it means there's not much pressure from the spring to keep it closed. I would have concerns that it may open slightly in my pocket. I did shake it about at one point and it does open a little. With the correct wrist flick, it can be opened all the way - this is the only slippy that I've had that I can remember being able to do that with.
Personally I think a little more spring tension when closed is needed. If I pull the blade out slightly and let go, I would want it to snap back closed.
On the whole, I like it. The shape and design is pretty inoffensive to NKPs. There are a few ergo tweaks that I would personally want. The spring would be something that's a dealbreaker for me, unfortunately.
Thanks for the look Michael and Tom.
I hope my thoughts are of some use Michael.


